We have already shown you how you can convert PDF tables to Google Sheets, and now we can talk about what happens when you have a spreadsheet ready for further editing. On mobile phones the Google Sheets interface is different than on the web, which is why some things are done differently. The following tips for using Google Sheets on mobile phones are valid both for Android and iOS systems.
1. Freeze rows
To freeze a row or column, first select it. Tap anywhere on the selected section and new options will appear.
Tap on them and choose Freeze.

Sometimes the Freeze option is immediately visible and sometimes you need to continue tapping.
2. Resize rows and columns
To resize a row or column, tap on the column name (for instance column C). You will see two small arrows- left and right, something like this ⏩. Tap on the arrows and then drag the row or column to increase or decrease it. When you finish just tap anywhere outside the column/row.
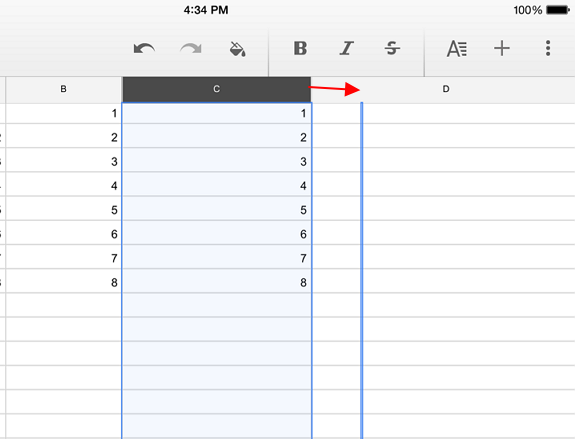
On smaller screens this might not be easy to do, but you just have to tap very precisely on a particular spot.
It is not possible to select multiple rows in Google Sheets on iPad or any other mobile device.
3. Insert function
To insert a function, simply tap on the cell and then on the field below. Enter the equal sign followed by a function name, and enter all the necessary arguments.

Sometimes the autocorrect might interfere with entering functions, so be prepared for that.
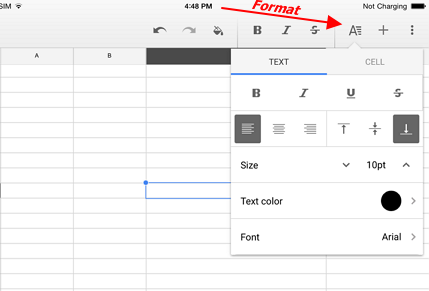
4. Change cell format
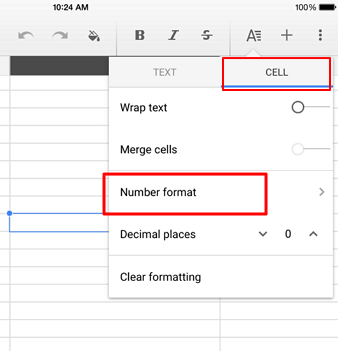
This one might seem tricky. If your cell is formatted as a number but you want it to be formatted as text or date, here is what you can do. Tap on the A letter in the upper menu and choose Cell.
In the field Number format choose the appropriate number.
On the other side in the Text tab you can change the cell’s look, font, size, color and more.
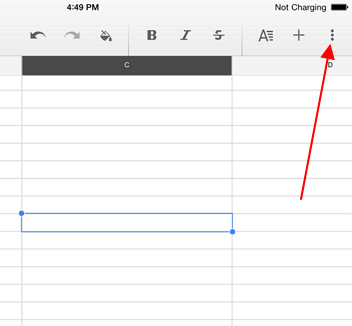
5. Save as Excel
If you want to save the spreadsheet in Excel format, which you may want to send by email to someone, simply tap the More settings.
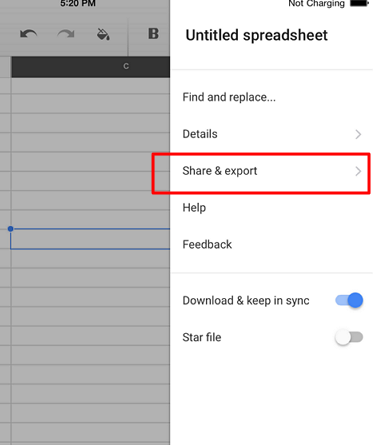
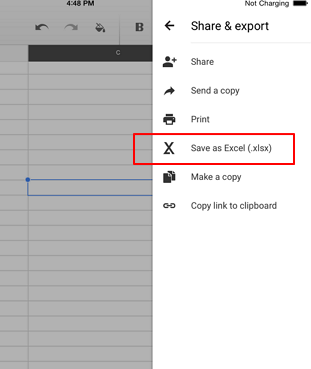
Choose Share & Export and then Save as Excel.
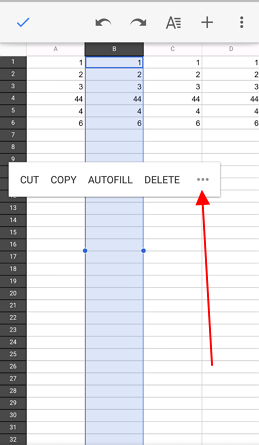
6. Use Autofill
The Autofill function is an extreme time saver. It exists in mobile version as well. To use it, simply enter a couple of the first elements in a sequence (for example: 1, 2, 3 in a row or column), select a portion of the row or column that needs to be filled till the end as started, tap on the selection and choose Autofill when it appears.
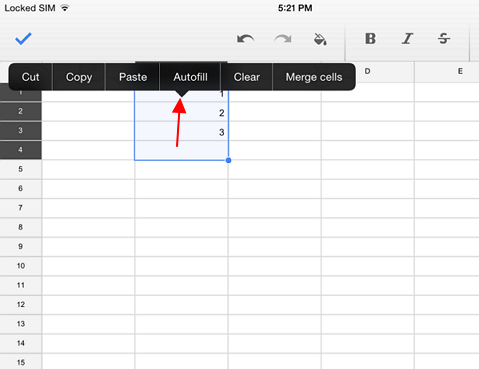
The selection will be filled with appropriate elements that logically follow what you entered (for example: 4, 5, 6…).


