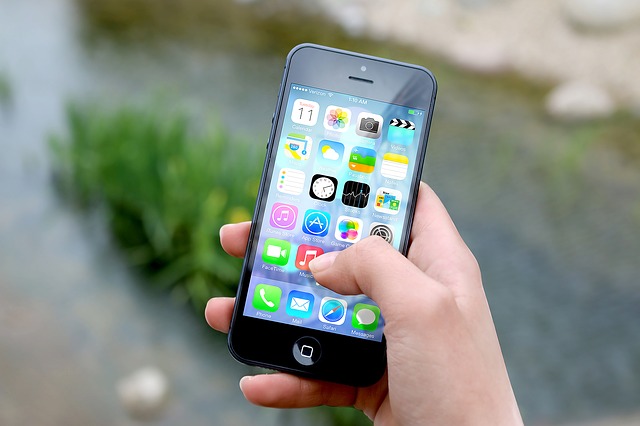
Did you know? Mobile phones were invented in the early seventies, and later in the eighties appeared on the US market. Since then people have embraced the idea of mobile phones and what it came with them. Today, people rely on mobile phones in their everyday life, in all aspects of it. With the rise of mobile apps, wallpapers and phone accessories, mobile phones have become powerful gadgets that look better and better every year.
In addition to looks and functionalities of the phones, the sound of a phone- a ringtone is very important to many people. While some like to hear their favourite songs when they have a call, other like to set up different ringtones for different people. Here we will give away the answers to the most common questions about iPhone ringtones.
How to set up iPhone ringtone with iTunes
If you use iTunes to store favourite songs and soundtracks, you can easily turn a song from iTunes into a ringtone. First, open iTunes on your computer and choose a song or audio file. Then right click on the song and on “Get Info” menu.
In the “Options” menu you can set up the start and the end time of the song by checking the boxes and defining the exact time. To apply the settings, click OK and then select that song. Go to “File” menu and “Convert” option, click on “Create AAC’’ version.
In your list of songs on iTunes, a new song will appear with the same name but different length. When you click on the song with the right mouse click, you will see the option “Show in Finder”. You will see that the song has a .m4a file extension. What you need to do is to rename that extension to be .m4r. However, don’t rename the file name, just the extension. That steps actually converts a song into a ringtone.
Now, you need to open iTunes again and delete the new short song you created. But don’t move the song to Trash, keep the file in iTunes.
The last step is to go back to Finder and select the .m4r and that ringtone will be automatically moved to iTunes Tone Library. Finally, sync all tones by connecting iPhone to iTunes.
How to set up iPhone ringtones without iTunes
If you use GarageBand you can set up iPhone ringtones without iTunes. Simply start the app and from the view menu select the music. Drag the song you want to set up as a ringtone, to the left or to the right.
If the song is too short for the ringtone, you can tap on plus button to extend the length of song. In the same way you can trim the song and make the ringtone shorter.
To set up a ringtone, tap on the song you edited, tap on Share button, then on Ringtone icon. Rename the ringtone and export it. Finally, select one of three options to use the sound as standard ringtone, standard text tone or to assign it to a contact.
iPhone ringtones for different callers
With the same Garageband app you can set up different iPhone ringtones for various callers. So, repeat the process from the above and in the final step, instead of setting up a song to be a standard ringtone, assign it to a contact.
Repeat the process as many times as you need, if you want to have different ringtones. Another quicker way to do that is directly from the phone book. Go to your Contacts list and find a person you want to assign with a different ringtone. Tap the Edit menu and select ringtone from the list of your existing ringtones. Have in mind that this option is only possible if you already have a preferred ringtone on the list. If not, you need to set up a preferred song first.
iPhone ringtones for hearing impaired
If you have a problem with your hearing, you may probably have some issues when setting up ringtones in a regular way. Luckily, there are solutions that can help you hear when someone is texting you or calling you.
There are various iPhone ringtones on the market that are created for people with hearing impairment. You can search for such tones here, and you can convert them to ringtones in Itunes, as we explained above.
You can also check the Settings in your iPhone, in the General settings find the Accessibility options and turn on Hearing aid mode.


